
I have recently decided to advertise a logo creation service I started, which you can see on my other and more graphic-design focused site Artistic Counterculture. I also have decided to add a page here with samples I have created for myself and various clients. Here are the links to my logo design service pages:
What prompted me to get more hevaily into logo design was thah when I visited my Weebly site, I noticed that my logo had disappeared. So I had to add it back in. Logos on Weebly’s CMS and web design service seem to be set at a specific sizes. They are automatically resized depending on what device a visitor uses when entering a site. Thus, the mobile or iPhone version is tiny and the wording is hard to see. WordPress on the other hand, allows you to resize it as I have with the pixel computer systems image you see on this site.
There are benefits of various CMS or what you see is what you get (WYSIWYG) web design systems in creating websites, which I will not go into in this post. Needless to say, I did cover this topic briefly here.
I created this file showcasing three logos top to bottom to showcase on LinkedIn, since LinkedIn does not allow you to add multiple images in an update. This is unlike Twitter where I added the three .jpeg and .png images into a tweet. You may recall, I used the Illustrator pen tool with various fills to create the bottom logo design, which I covered not too long ago.

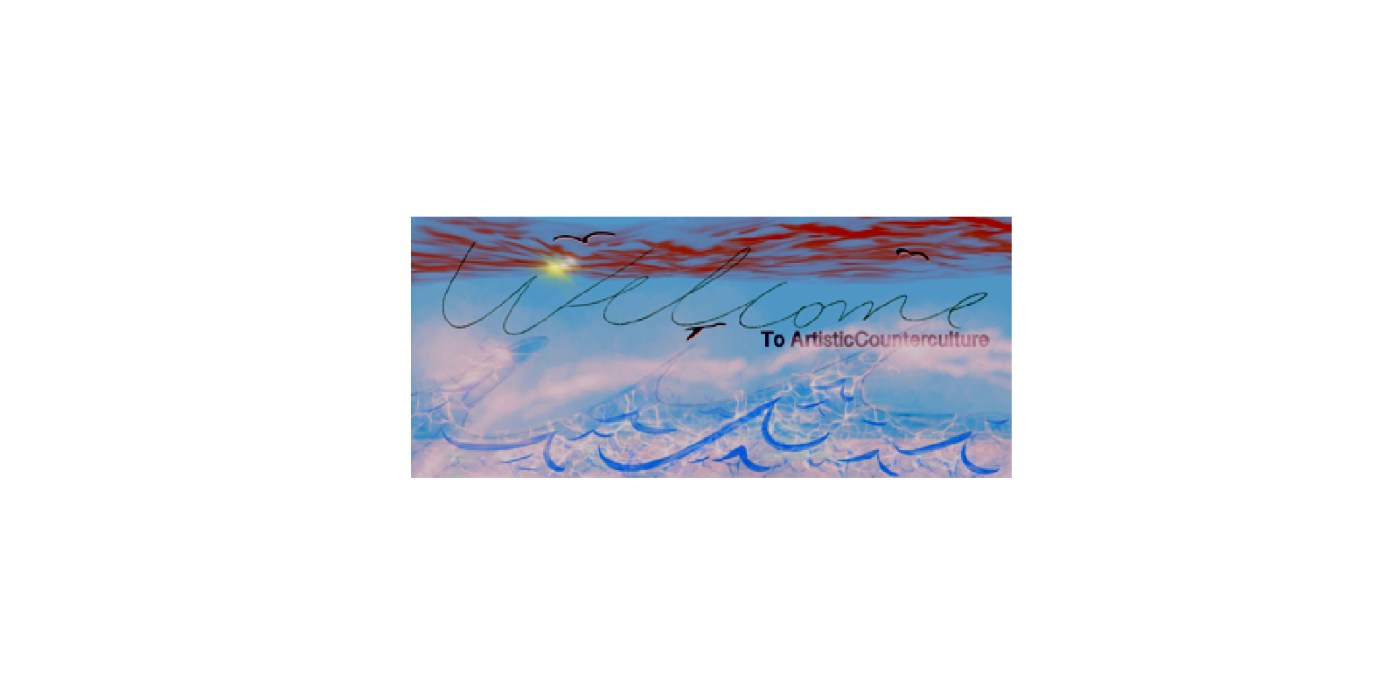
However, looking closer at it, I noticed that the bottom logo, or the one I mentioned me covering recently, was off a bit and did not scale so well. I had it saved in .png format and the only .AI and .PDF (thus vector) files I have left I overwrote with my personal information (my name, this website and Artistic Counterculture as well as a phone number). I wanted just a pure logo like the above so I had to figure out a way to erase my info as I lost the original source file in vector (I had the raster file as you see above that did not scale well though).
So what I did was to recreate the gradient in a way and do a rectangle fill (without a stoke) right where the words were showing. You can see the new image below as well as a Licecap GIF showing a bit how I did it.

Notice how the letters were able to scale on the bottom image unlike the one above. This was because I kept it vector as I resized and reoriented it with the other logos. Then I exported it at the end to .png or .jpg (raster). I did not have to fiddle or scale an already raster image despite losing the original vector one. I also think if you look very hard, you may notice the gradient difference as I had to literally create it from scratch and through experimentation. However, I think it worked out as good as I could have done it without spending a whole day on this project at least.
The thing that I learned to watch for is that when trying to match the color below using the eyedropper tool, in the sections when the gradient shifts occur, to double click on the icon of the color on the gradient first. Otherwise, the gradient will just switch to the color of the eyedropper tool and it will not simply replace one of the gradient colors like I aimed it to. Keep this in mind.
I learned that to lighten or change the colors a bit, it wasn’t a good idea to simply change the opacity by itself when you are tying to cover something. Because, the letters or words would start showing through. You have to go into the lower right icons to get to the color swatch and modify it that way.
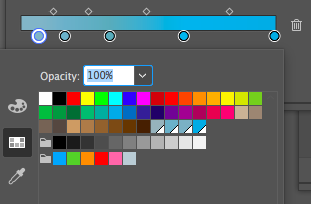
I also decided to save every swatch by going to the swatches panel and clicking on add new swatch on one of the sections below. I did this for all the colors I had on the gradient using the eyedropper tool like I mentioned above. That way I did not have to recreate the color individually through a swatch, but have them already saved and ready to add to the gradient. When you double click on a circle in the gradient window, you get this view:
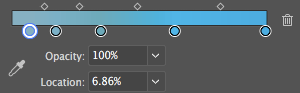
In order to be able to match the color with what is below it and use the eyedropper tool, click on the eyedropper tool now after double clicking each circle:
Here is a gif showing how I modified the colors on the gradient using this method:

Now as I mentioned, sometimes the color needs to be changed and simply relying on the eyedropper tool is not enough. It may need to be lightened up or darkened without relying on changing the opacity. The process to do this is the same except you have to click on the color icon and not the eyedropper icon when double clicking on each circle in the gradient. Here was the way I did that:
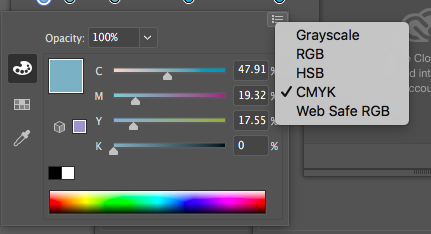
Keep in mind that you can lighten it up easily, but to get to more dobust color options you will need to click on the icon on the upper right hand-side and either click on RGB, CMYK or Grayscale.

The easiest way for me at least was to create a rectangle and not multiple small rectangles with different colors and adding a gradient to the larger rectangle. This was because you have clear transitions showing when you have multiple colors and rectangles side by side even if they match what is below. Thus, creating a fresh gradient and using a variety of colors as fills for the larger rectangle did it.
Finally, I decided to also make a horizontal collage of the three logos and here is how I did it (note, it took some moving around using the move tool as well as pressing shift to move both the main rectangle in the vector logo and the rest of the image together, as well as changing the artboard and saving it with an export at the end).


Here ya go. Now, this was a short tutorial that may aid you in your graphic design and logo creation skills. If, this is too cumbersome for you, be sure to contact me for any logo or graphic design work you may need or have questions with and we can work together. Otherwise, check out the service I offer here.
Lastly, I want to close this short guide and tips article by mentioning that on Youtube I ran into an interesting tutorial showing some mistakes people do with gradients and some of it I touched upon here. It may be worth watching to truly get the gist of how to edit the gradient colors effectively as Illustrator can be a pain with its nuances. The video shows that sometimes changing the opacity all by itself, within a single color, can produce a great transparency effect:

Leave a comment